Wednesday, March 28, 2012

My grandmothers' dresses

 We're going to take a short journey to time and space back to the fabulous 50s, and the three dresses worn by two women in my family. The black and the brown belonged to my maternal grandmother (who is about 6 inches shorter than me and here after will be referred to as 'Grammy') and the white (once upon a time it was blue) belonged to my maternal paternal great grandmother (mom's dad's mom aka Meema) I'm not sure how tall she was, but I'm guessing around 5'2ish as well.  I'm the odd one out when it comes to height and the women of my family.   A lot of the men are tall... but I digress....


The fact that I can get into them at all shocks me -- they are tiny!   (however, in all honesty, I only ever got the zipper up on the black one once, and even then I couldn't breathe.  Me thinks Grammy was an elf.)   The brown one has actually held up well enough that I've worn it out twice, although I let it out a bit as I am fond of breathing.  (Have I mentioned my grandmother was an elf?)  She would have been in her early/mid twenties when she was wearing these around about 1952.     The white/blue dress is from the same period and is the one my great-grandmother wore to my grandparent's wedding.  (I wanted to include pictures -- the dresses are *fabulous* but they seem to be in a very safe place.  A very very safe place.   You know how it is.)

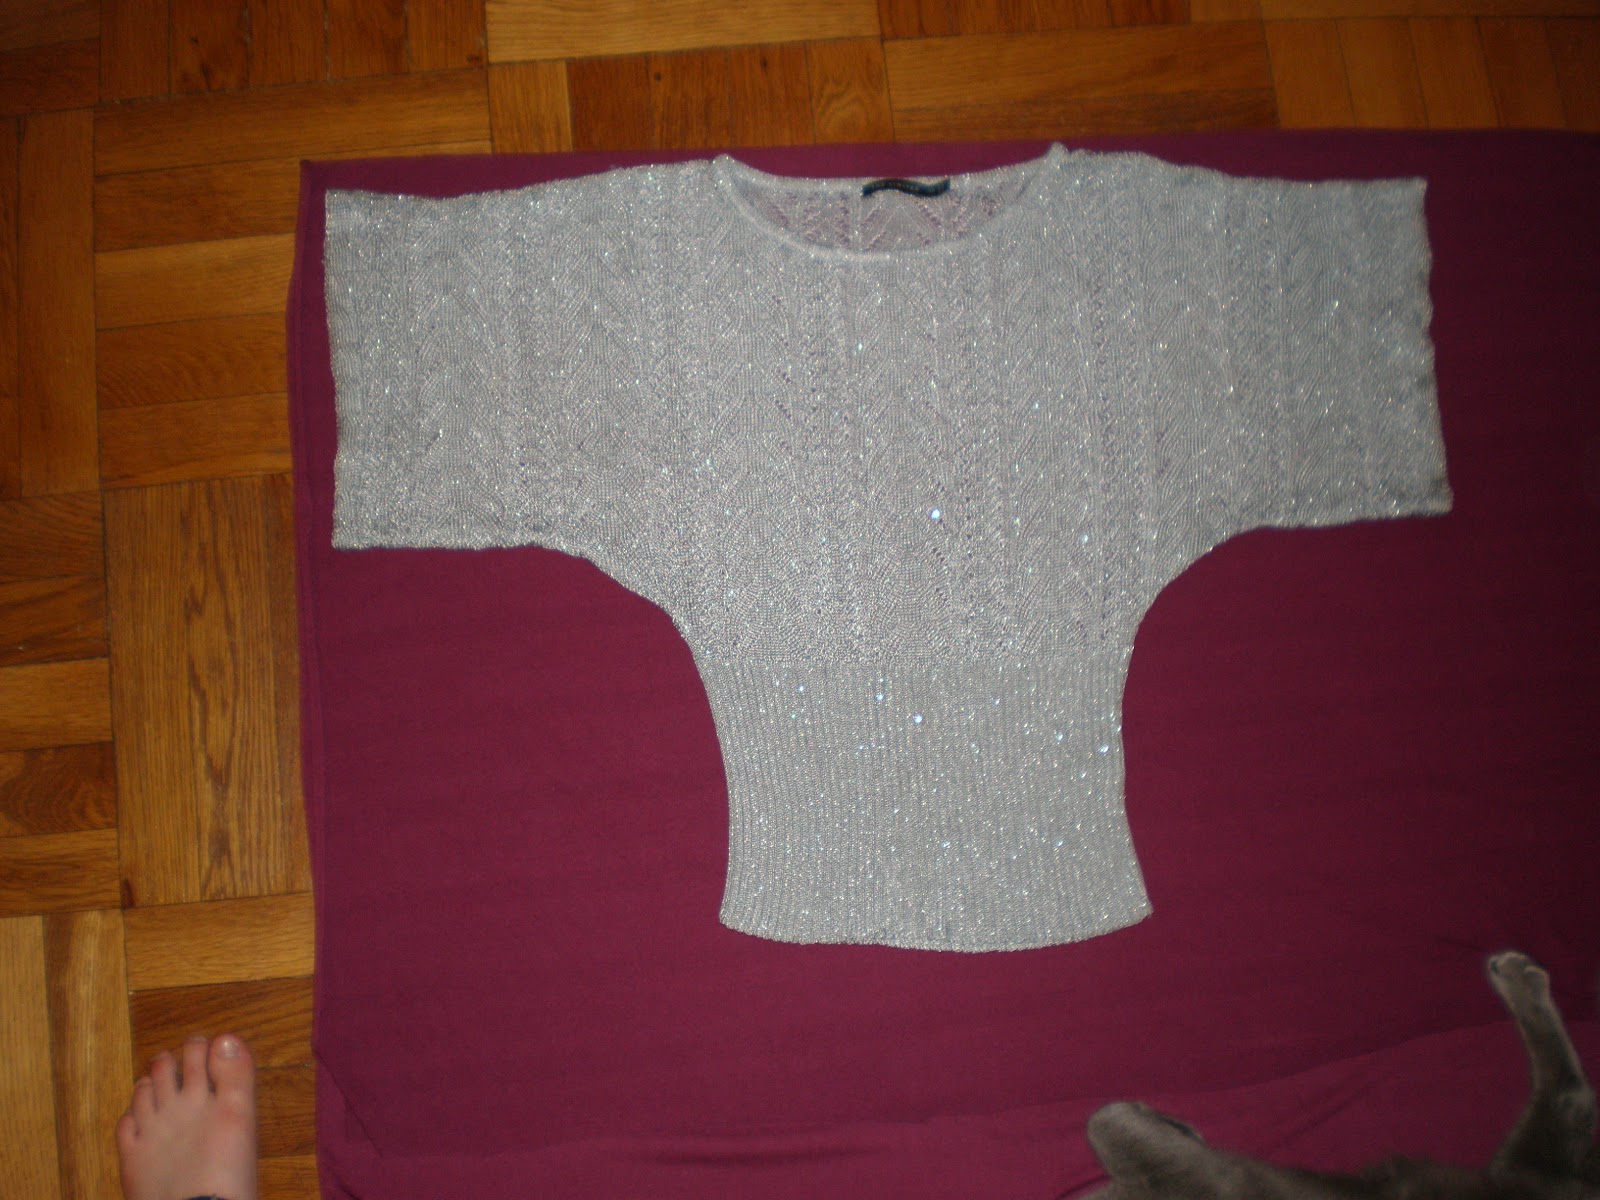
I don't think you can see much of the seaming (wow but I need a better camera...) but the lines and details are amazing.   I plan to copy all of them, so I'll be able to share what was going on inside and all the nifty little gussets and pleats an whatnot.   My plan it to start with Meema's as the sleeves are just amazing.  (Trust me) and its by far the most fragile of the three.

I have to finish up a trio of UFOs (sooooo veeerrrryyyyy cloooose) and then its onto copying!  (copying RTW seems to be my thing lately.  I just haven't been in the mood for pattern fitting.)

Does anyone else out there have things your grandmother wore?   Any links?  I'd love to see them.   I have books on fashion history, but I think its just as interesting to see what people were really wearing, rather than the couture stunners that dazzle but weren't really the sorts of things the motley crew would be wearing around and about.

Saturday, March 24, 2012

Raspberry Ts


This all started when I decided I wanted to copy my sparkly sweater.   I layed it out, traced it, and then added a bit of width around the hips to account for the decreased stretch in the raspberry knit.  


Well, it came out just as I wanted *and* I managed to hem all the edges without stretching anything out.   Most pleased.    All in all this took about two hours - most of that time spent double folding and pinning hems.   Then, while puttering away at something else, I found I had no empty bobbins -- nor were there any close enough to being finished that I could pull off the remaining thread and pop it on a needle.   From time to time, I'll unwind one, but I really hate doing that.....   so I made another shirt.


It is also a copy of a RTW I traced out -- I forgot to get a picture, but no major modifications other than increased length.  Its nice -- but this time around the hems kept getting sucked into the machine, so they are wrinkled and puckered and messy.    Well -- the back of the sleeves are....  ::grumble grumble::  So this will probably be reduced to layering or bumming around the house.


However, after all this, I *still* have about a yard left -- plus scrappy bits.    So!  the plan of the moment - figure out what else I can throw together from my lovely raspberry cotton.  (All of $6 for 2 yards.  A lovely color that has been missing (as a shirt) since a certain cat was startled by a certain doorbell and ripped a slit down the front in her haste to escape. )

Off to experiment!

Thursday, March 22, 2012

Redesigning my braces

As you may not know, I wear arm braces almost all the time.   (crazy RSI problems.   And apparently I am too young for surgery, but that's a whole different issue we're not going to get into today.)  Anyhow -- the braces -- the ones I've been wearing for the past few years are *huge* and have extra boning up the sides to keep my wrists from torquing.   The concept is good, but in practice the boning hits my actual bones (I have pointy wrists) and finally started causing bruises -- so they were no longer really an option.   I'd been toying with the idea of making my own for a little while, and went for it the other day.    

What you see in the image is my first set of prototypes.  They are made of spandex with a double layer on the underside (of my hand) with a channel for the splint.   The channel is lined in a double layer of polar fleece to keep it the splint from jabbing me.   The black webbing holds everything down tight, otherwise the spandex would allow me too much freedom of movement, bending my wrists and making the braces pointless.   I finished them with snaps so I could get them on and off one handed.

The good:
- I've been wearing them for two days now and I think they work better than my normal braces -- no extra pain from boning.
-the much slimmer design allows them to fit under sleeves, which means they attract less attention.  (Random point - if you see someone you don't know with braces or something similar -- don't ask about them.   Someone else's long term pain is not an appropriate topic for small talk.  Comment on the weather. Trust me, they will not think you are uncaring.  Rather the reverse.)    The original models have have large plastic bits on top that hold the velcro that make the whole thing adjustable - but mine aren't mass market and the velcro was always getting caught on everything I wear.

The bad:
They aren't adjustable, and I guess my arms swell and contract a little as sometimes they were slightly too large or too small.

The plan:
I'm going to get some thicker spandex about the color of my skin for the final version.   I'm not entiarly sure what to do about the strap.   I need something there, and I like how slim this is -- but it needs to be adjustable and velco will not do.  Not only does it get caught on everything, but with daily wear it looses its cling and starts popping open more or less whenever.   I thought about a small laced section that I could loosen as needed -- but that can't really be operated with one hand.  So, I'm looking for ideas on how to make this work -- any thoughts would be most welcome.

Unrelated:
The things I was hoping for last time have all happened - and a few others.  I'm sorry to be vague - but I like to keep work things and blog things separate - but I'm bubbling over and have to share, even if its just in a roundabout way.

Monday, March 19, 2012

Popping up to say hello! PLUS bonus paper star tutorial!

The crazy has been in full force for the past week or so, what with deadlines at work.   Everyone is under firm instruction to think happy thoughts that everything goes my way, happens as I have planned and otherwise works out well.
Having more or less caught up on life, I'm still working on getting back into sewing.   There have been several aborted attempts to start something (or finish something)  but I'm fairly well tapped out just now, so mostly I've been mending.  (useful, but not so interesting.)  Actually - I lie - there was one interesting part of whole mending experience -- I finally figured out why a particular RTW shirt had always sort of bothered me -- the collar was all wrong.   So -- out came my trusty seam ripper, off came the collar, the stand was sewn up, and blamo -- mandarin collar (much more suited to the shirt.)

**************************************************************************************************

Now -- Paper stars!!!!    I'd taken these pictures months ago intending to do a snowflake tutorial, but they work just as well as stars.  I had them in half a dozen colors for my birthday and they invariably knock people's socks off despite being ridiculously easy to throw together.

Supplies:   6 square pieces of paper.   Size doesn't really matter, but about 4 inches is nice
                 tape, scissors, string (to hang them up)


1) fold a square in half to make a triangle.  On the right side, make three angled cuts from the fold toward the center - but fall short by about a centimeter or so.   Do the same on the left.
2) Lay the paper flat.  You should see a sort of diamond pattern -- take the two innermost points and tape them together.  Don't fold anything, just let the paper curve.


3) Flip the paper over and do the same thing -- tape the points of the diamond together, but this time curving in the opposite direction.  
4)Continue flipping and tapping points together with the next two diamonds.

 5) You should end up with something that looks like the picture above -- four diamonds with their points taped together  - alternating direction by layer.
6) Do all of the above five more times.


 7) Tape the center points together (I like to do two groups of three and then attach the sets.)  You can also tape the middle of the diamonds where they touch the other sections -- but a smaller star probably won't need the extra support.
8) Tie on some string and hang!

Sunday, March 11, 2012

In which I vanquish a foe

 You may recall back in the hazy days of yore (December) when I couldn't find a zipper I liked for the turquoise polar feece.   Well -- its been sitting on my sewing table, upbraiding me with its fuzz for months -- and as winter is hitting us with its parting shot, I decided it was about time to take things into my own hands.  

The internet had failed me, so I turned to dye.  I found the perfect color, and in the pot it was exactly what I wanted.....


But rinsed out it was a pale shadow of the color of wanted.  (Still color color-family-wise than the other options... but not good.)   I considered going with it.. but I just wasn't happy.   I want my zippers to match, damn it!


Enter the sharpie!   I got a fatty and a fine tip.  Huzzah for the art store!


Behold the glory!    A little patchy, but lets be honest, no one but me is ever going to look at it.   (So, why, you ask, do I care so much?   It will show when the jacket is open, and I like it to be uniform.   Also- obsessive and crazy.)


Joy was felt throughout the city!

And as inevitably happens, I started trying it on with everything I own.

Sunday, March 4, 2012

Happy Birthday Fun Times!

Horray and Huzzah, for it is the anniversary of my birth.  (I say this like I was in any way responsible.  Mom -- Thanks for pushing me out of your uterus!)

Its been a good weekend.  I had a party last night (which, inevitably, I have no pictures from. I don't seem to be one of nature's in-the-moment photographers.) and the theme was 'symposium'  -- I gave each person a topic when they rsvped and they had to present it in any manner they chose.  As the topics were whatever I happened to be thinking about at the time, and not a single person took it seriously, *and* one threatened to blow up my microwave while trying to make plasma from a grape, fun times were had by all.

Decorations!  paper chairs, stars and ornaments!  

Then today, after an epic quest for pancakes and/or cheese steaks (totally worth it)  all guests were on their ways home and I was on my own and got to sew (and the sixth season of doctor who opened up on netflix!)  So here we have what I'd been calling the stealth dress, but I think we'll rename the birthday dress.

I've been working on it in fits and starts since November and it keeps somehow not making it onto the blog.  It's Butterick 5330, although I turned the double panel midriff into one piece.  It also represents my first major foray into piping -- I've done it once before and made rather a botch of it.  However, this time I tried using a proper piping foot, and oddly enough it turned out much much better.   I still need to attach the midriff and bodice, add a zipper and otherwise hem and finish seams.  I'd hoped I would finish it tonight, but after finding I'd left about an inch of gaping ease in the center front of the bodice (I'm really not sure how I pulled that off)  I had to rip out and redo -- and piping makes that all a bit tricky and nothing lies flat.   Anyhow.   It came together today, so birthday dress is shall henceforth be. 
Related Posts Plugin for WordPress, Blogger...